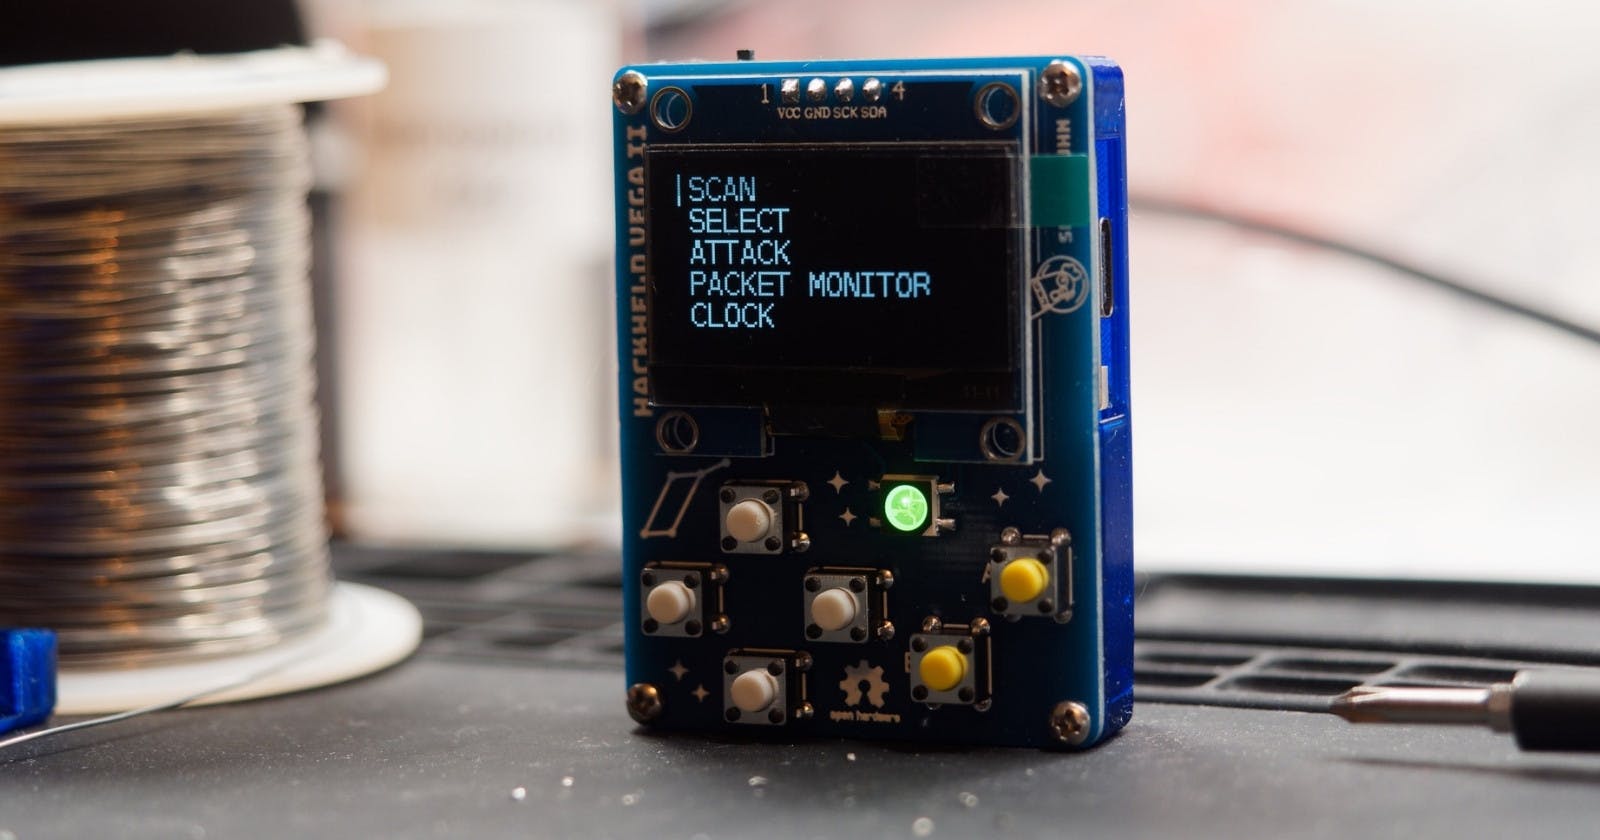
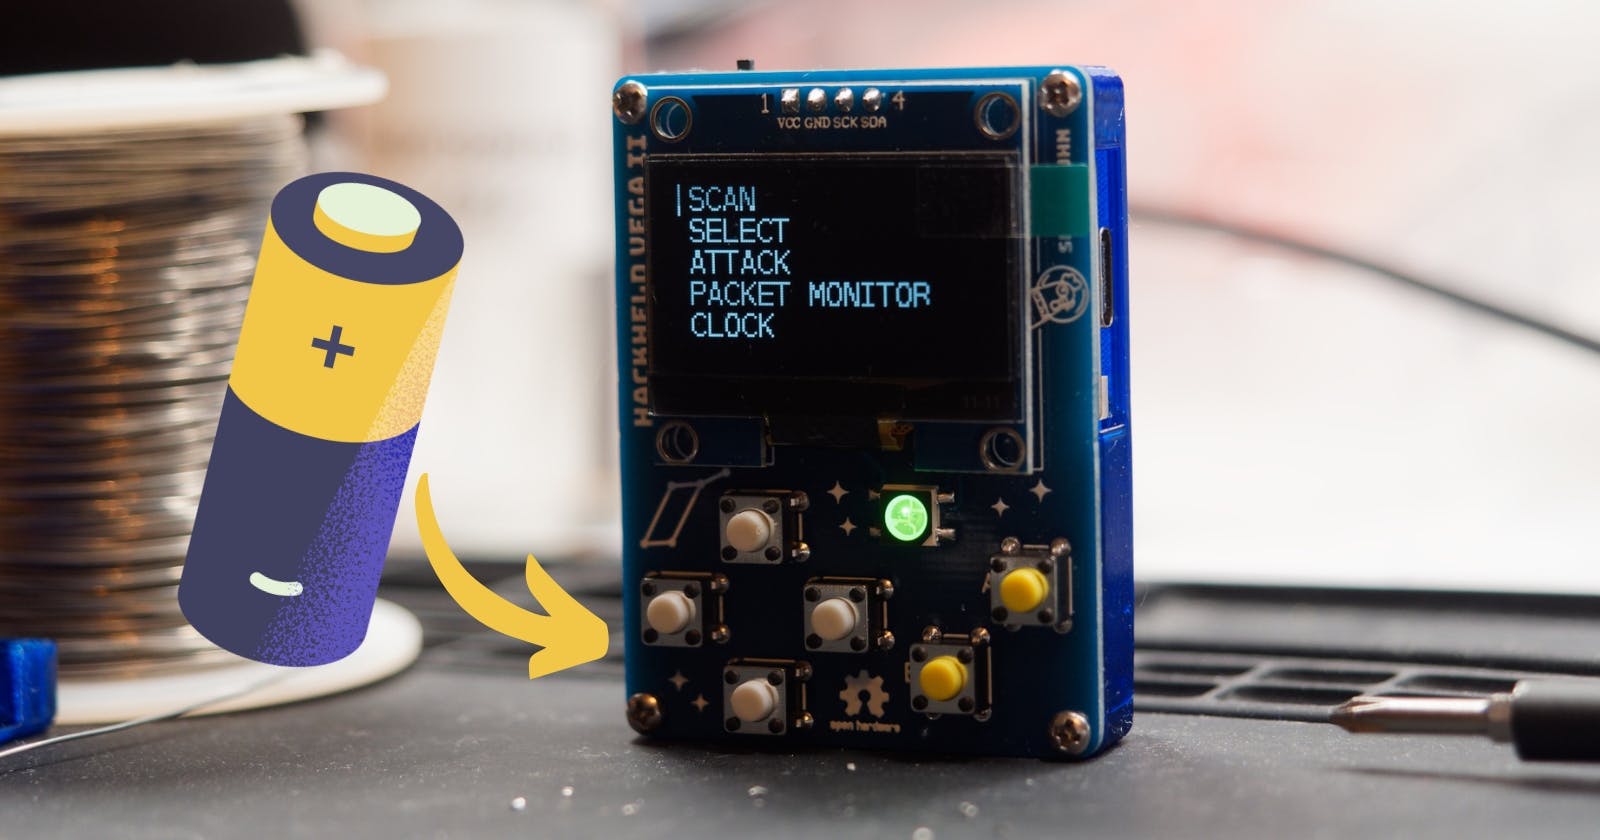
Make your HackHeld battery powered with this simple DIY mod/addon. Learn here how it works and how to install it.
Kit
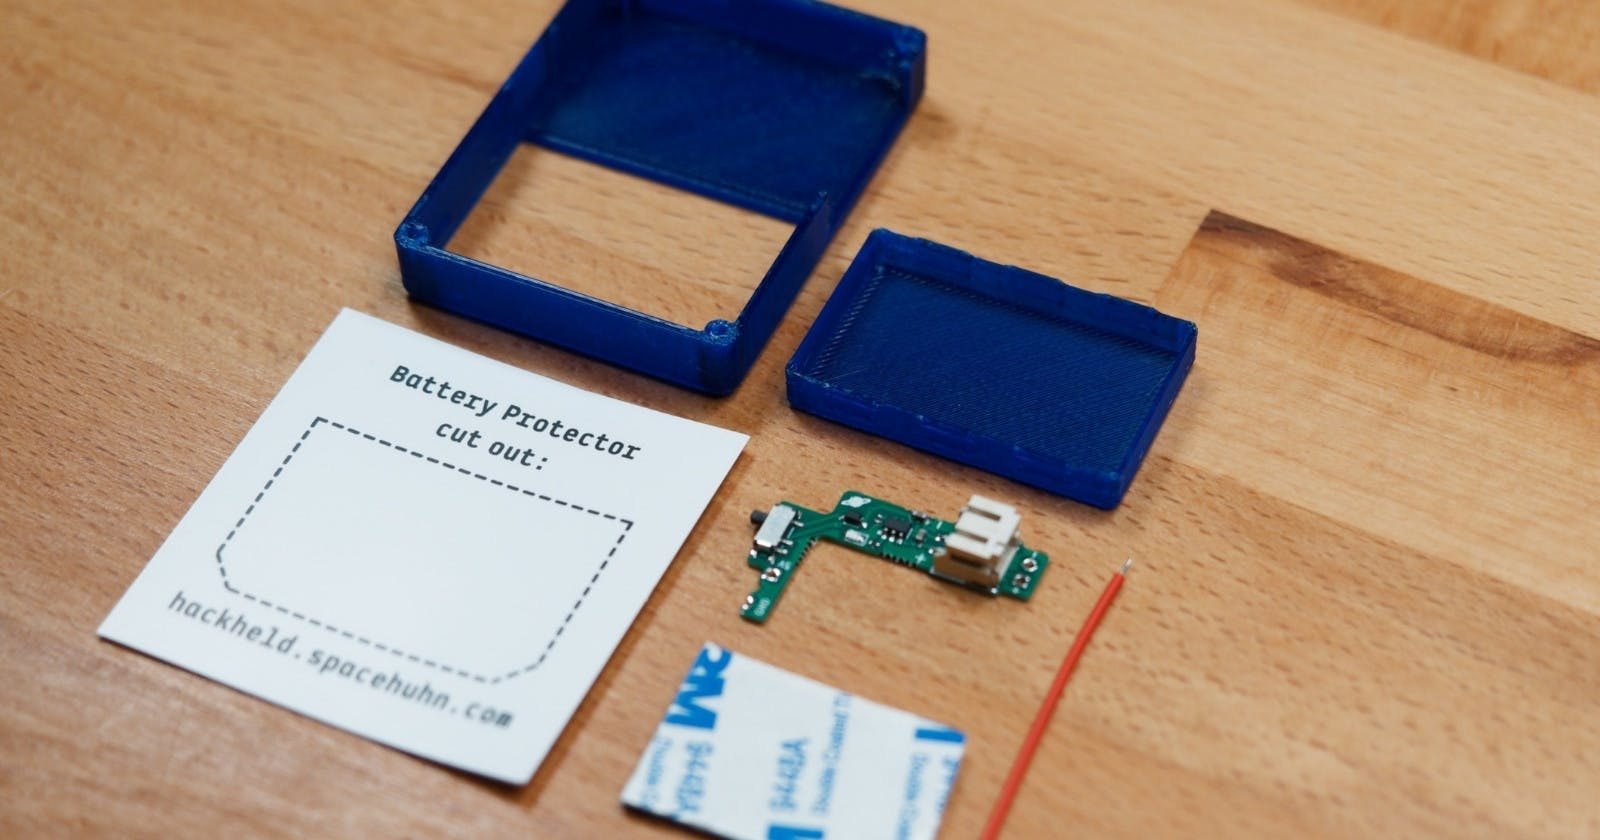
You can buy the kit at Spacehuhn Store. It includes:
Case with Removable Battery Compartment
PCB with Battery Connector, Charging Circuit and Power Switch
Wire
Double Sided Tape
Card as battery spacer
The battery mod has some limitations since the HackHeld wasn't initially designed for battery use. (Hence, this is a mod and not a feature.)
There's no battery level indicator.
No low battery warning. The HackHeld will turn off when the battery is empty.
The HackHeld cannot be turned off while charging.
The charging indicator LED is practically not visible from the outside.
Battery
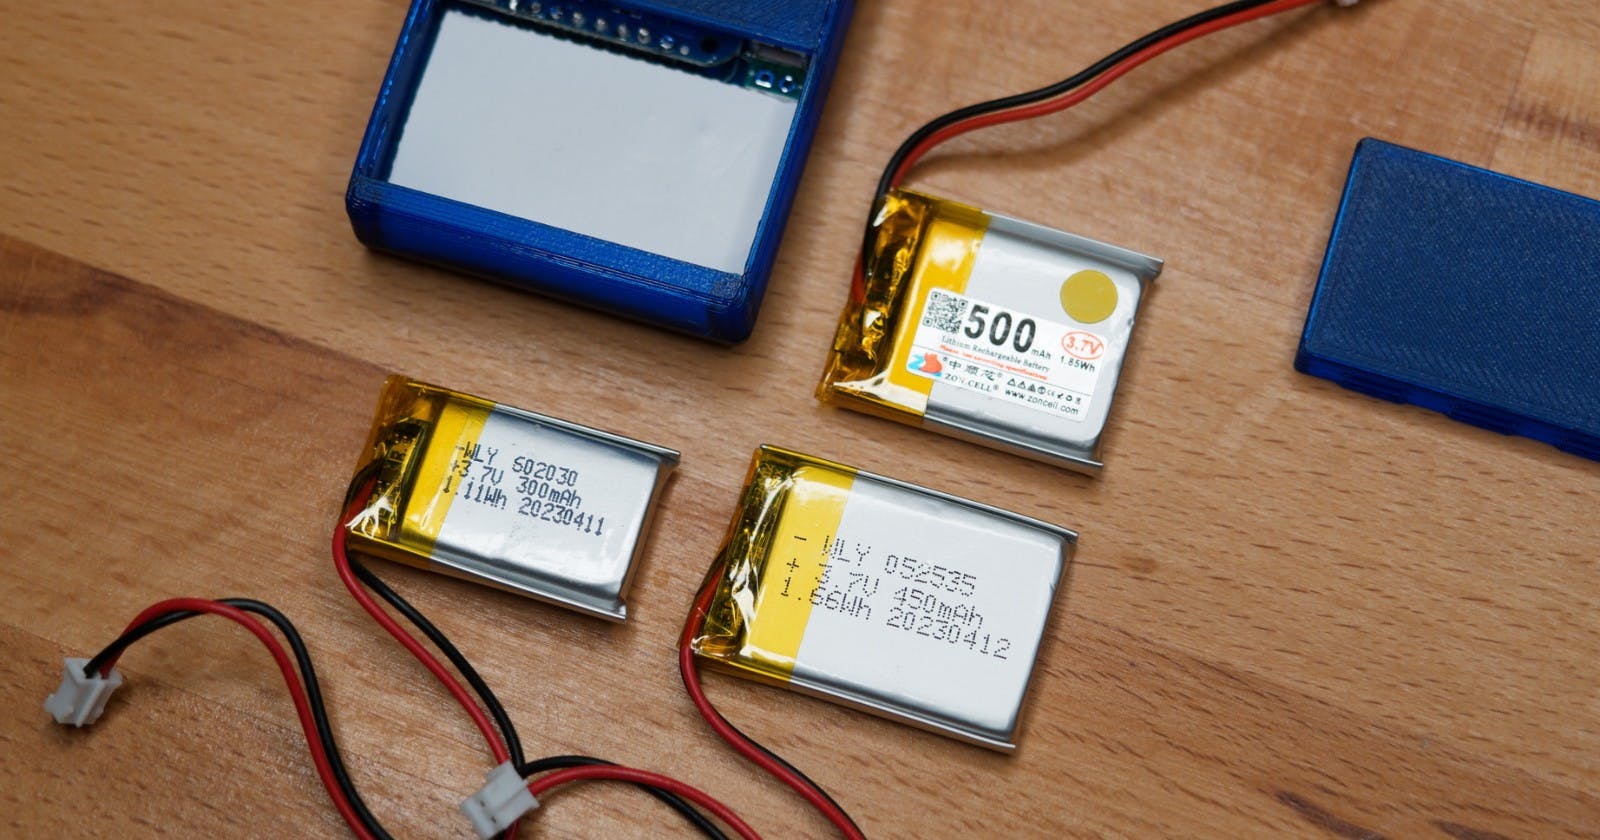
You can use any 3.7V LiPo or Li-ion battery that fits the case.
Run time is expected to be around 1-3 hours, depending on usage and the battery capacity.
Here are the specs to help you find a suitable battery:
3.7V LiPo or Li-Ion battery
300 - 600 mAh recommended (batteries with larger capacity will likely not fit in the case)
40mm x 25mm x 10mm (L x W x H) or smaller recommended (larger batteries most likely will not fit in the case)
JST PH 2.0mm 2-Pin connector (alternatively, you can solder the battery wires directly to the PCB)
Example Batteries:
Assembly
Unscrew the 4 screws on the front of the Hackheld and remove the case.
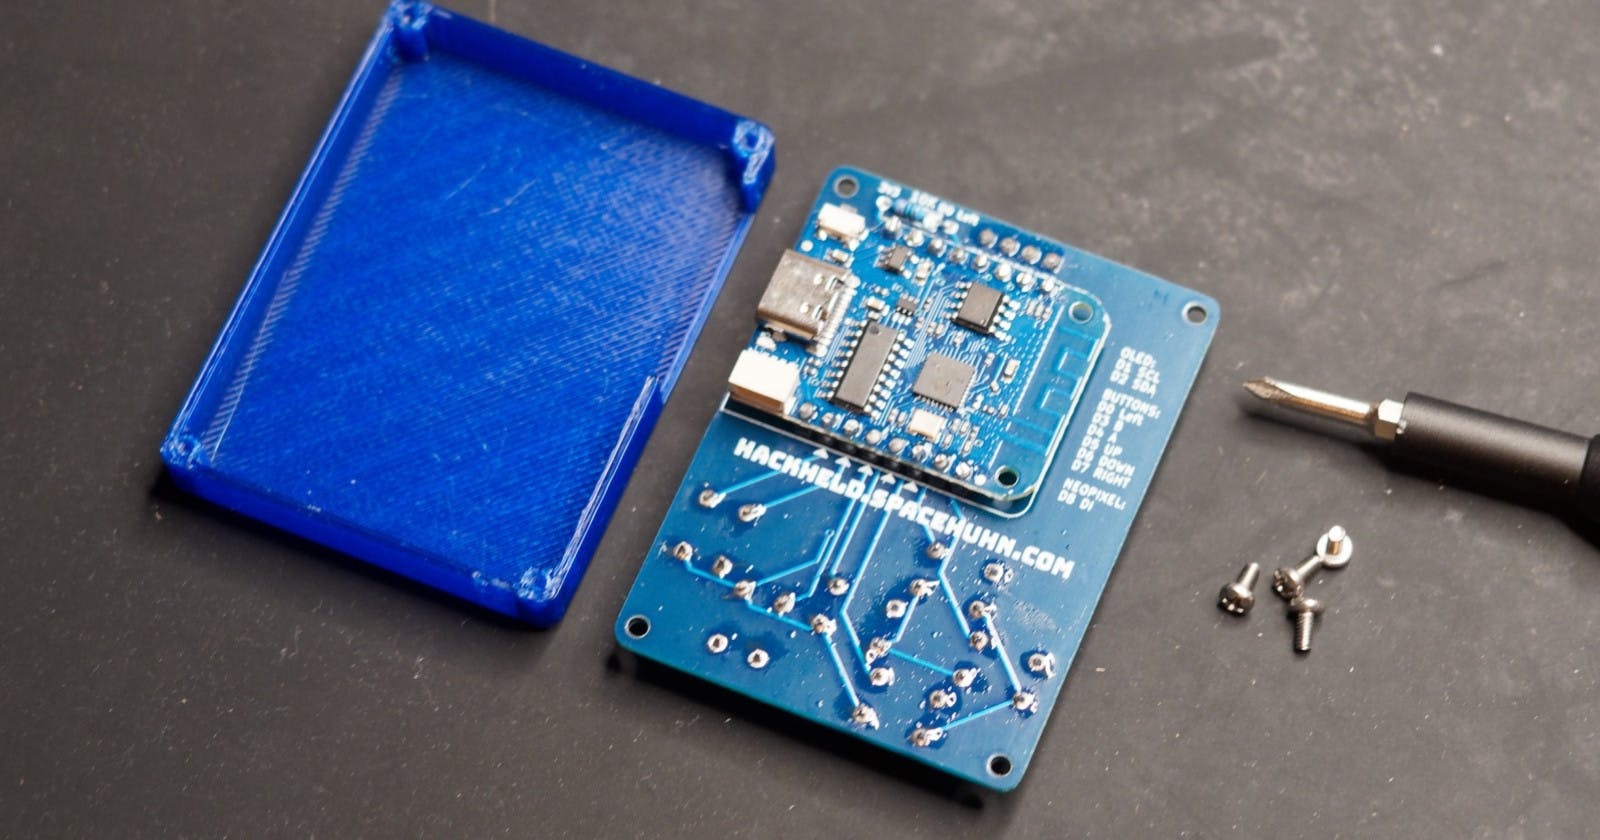
Optional but recommended: Take a small piece of double-sided tape and stick it on the backside of the battery mod PCB. To prevent the PCB from moving around in the case. (This tape is not included in the kit.)
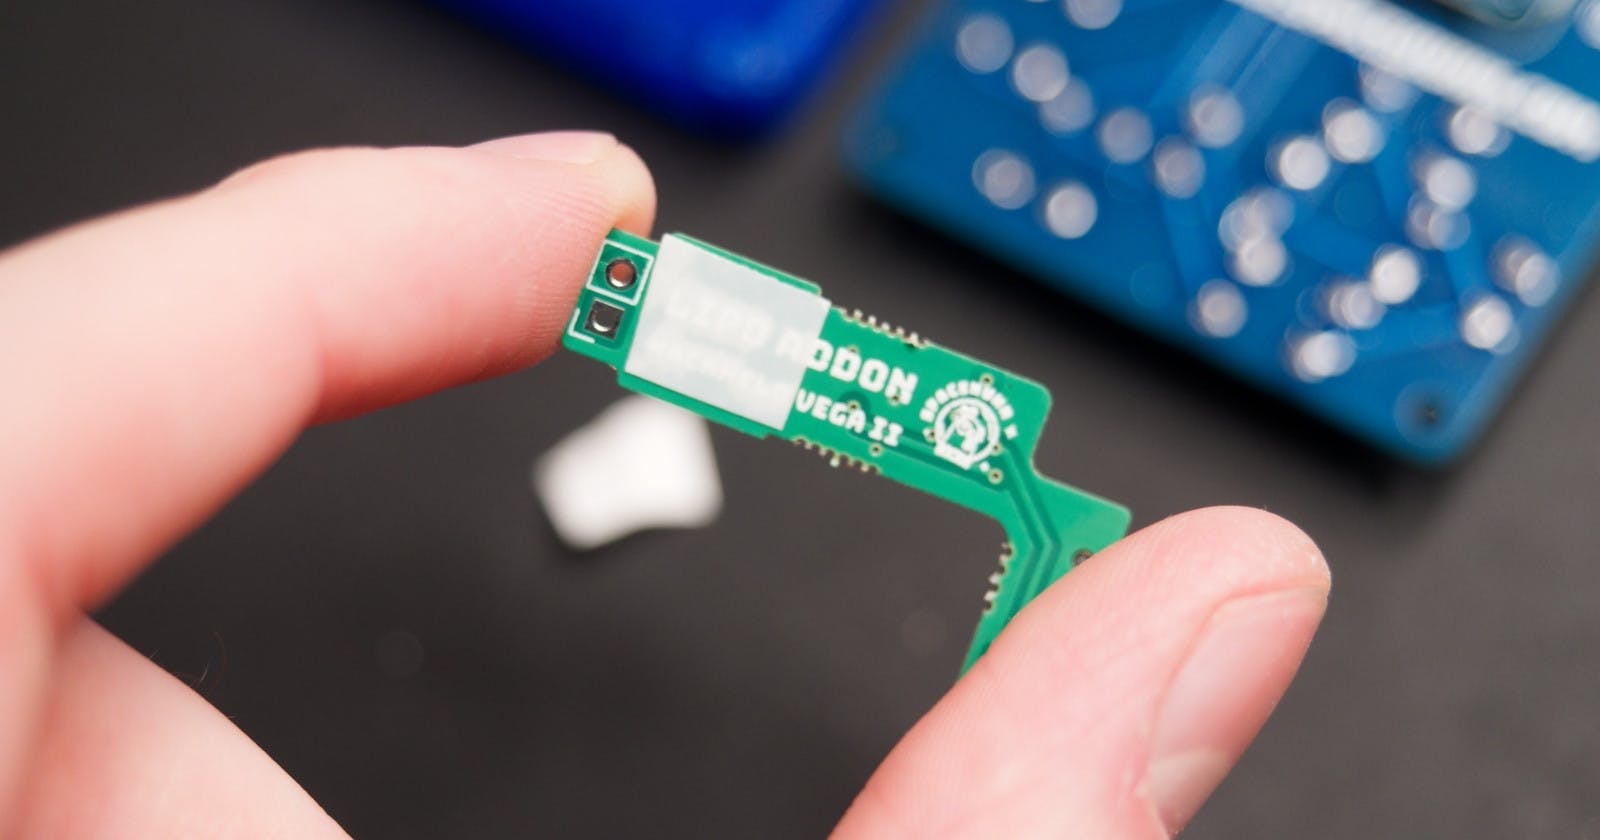
Place the battery mod PCB as shown in the picture.
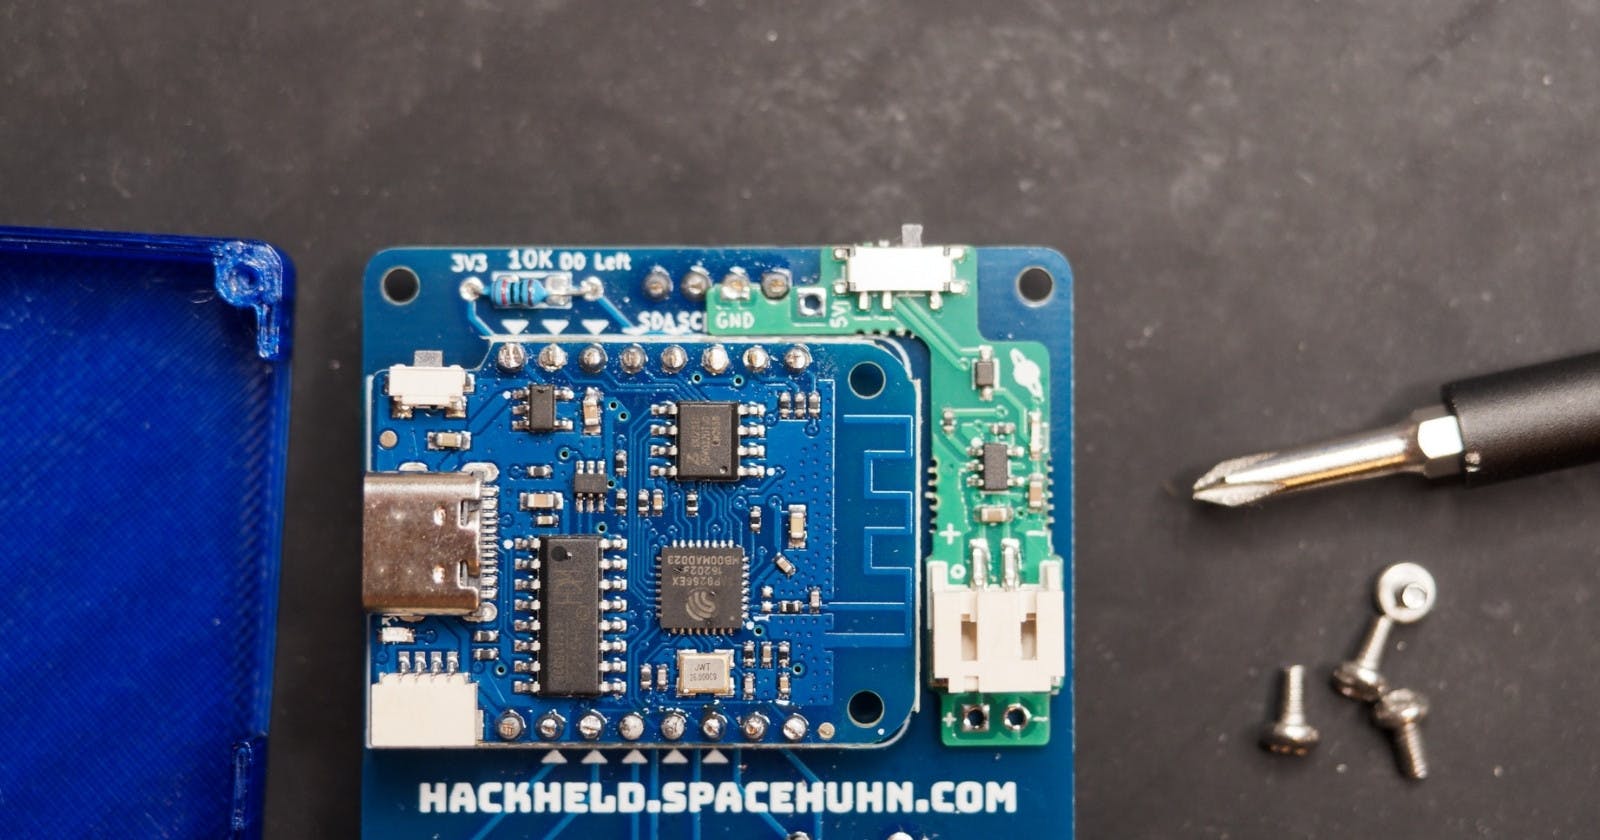
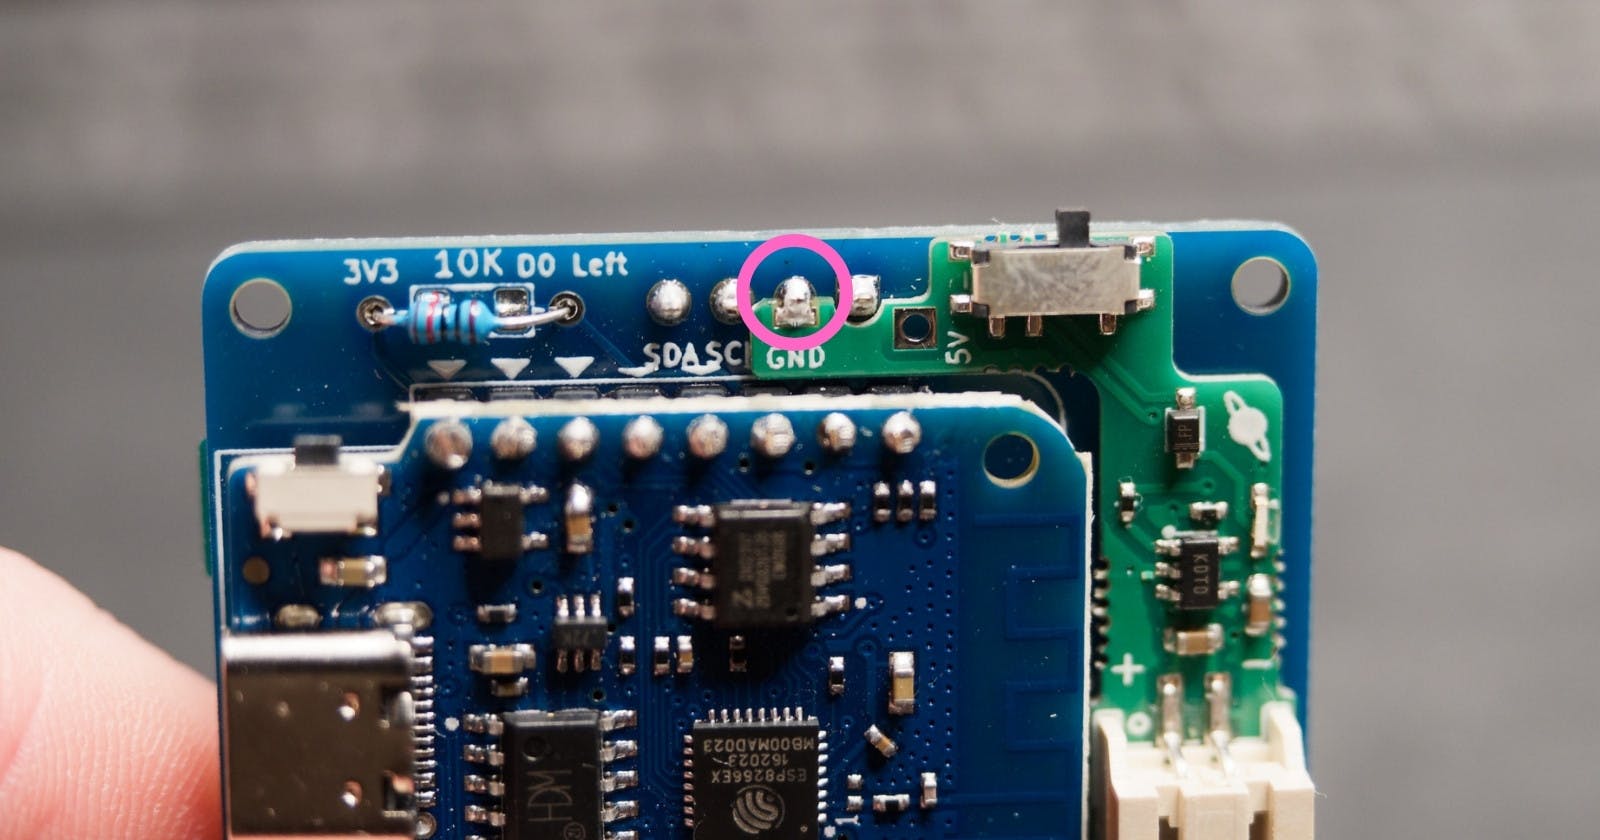
Solder the GND pad to the GND pin of the OLED, as shown in the picture.
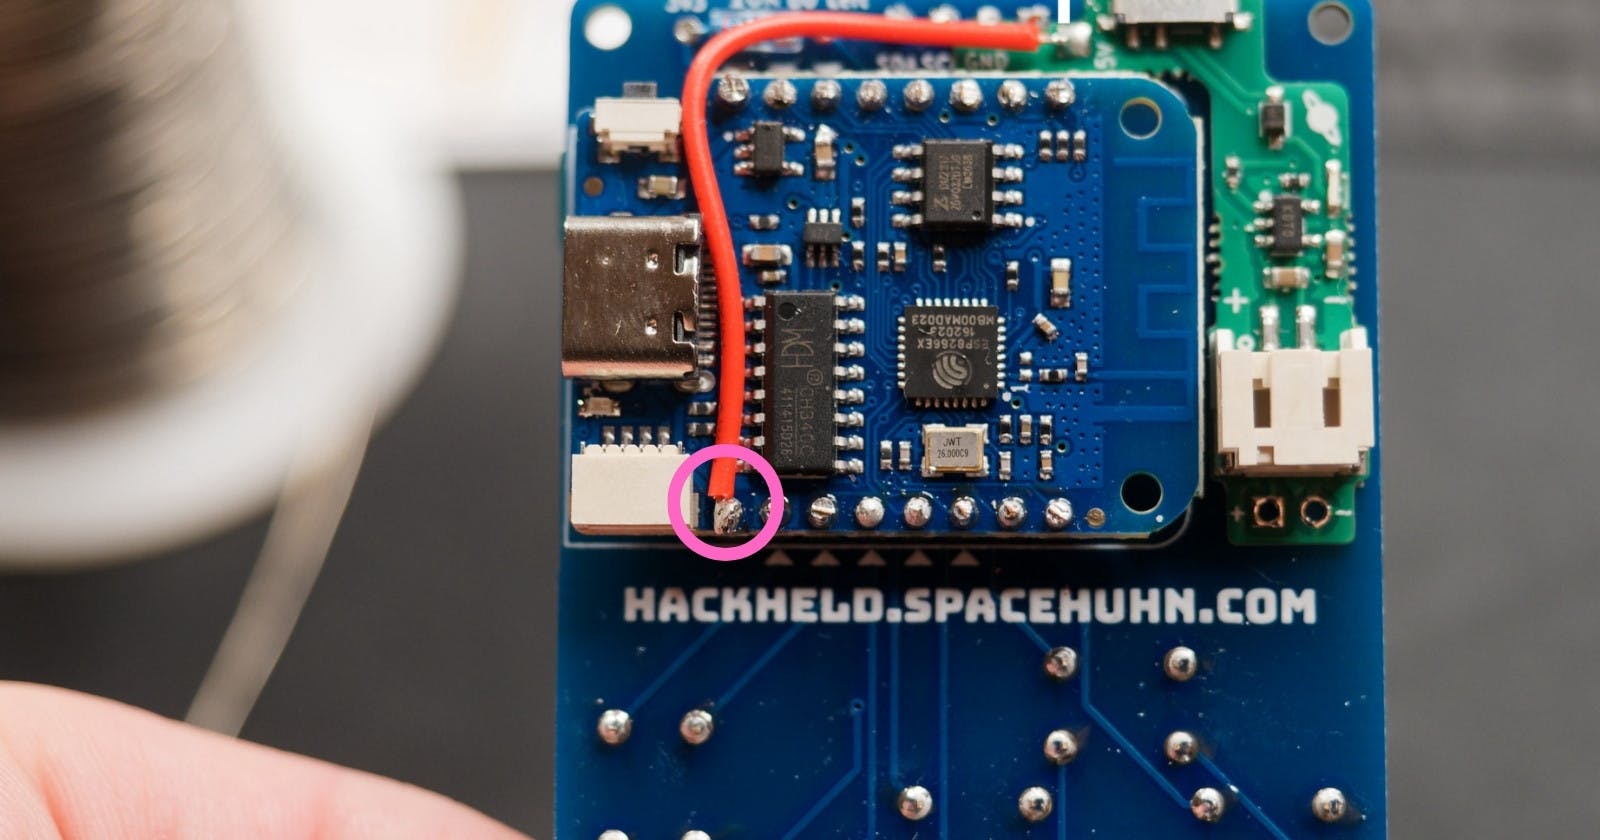
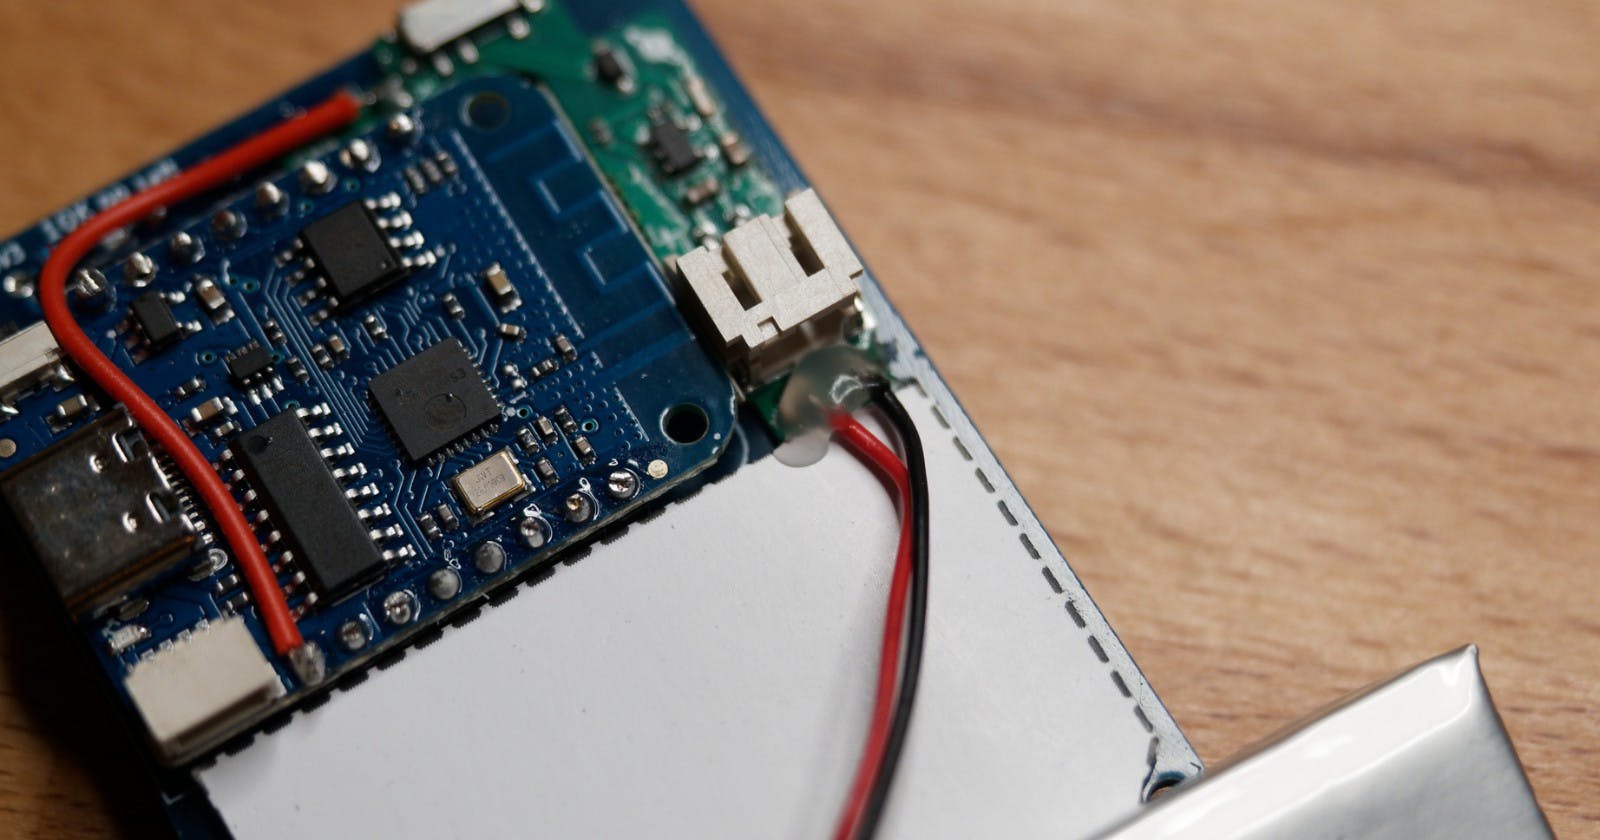
Solder the red wire to the 5V pad of the PCB.

Solder the other end of the red wire to the 5V pin of the D1 Mini.
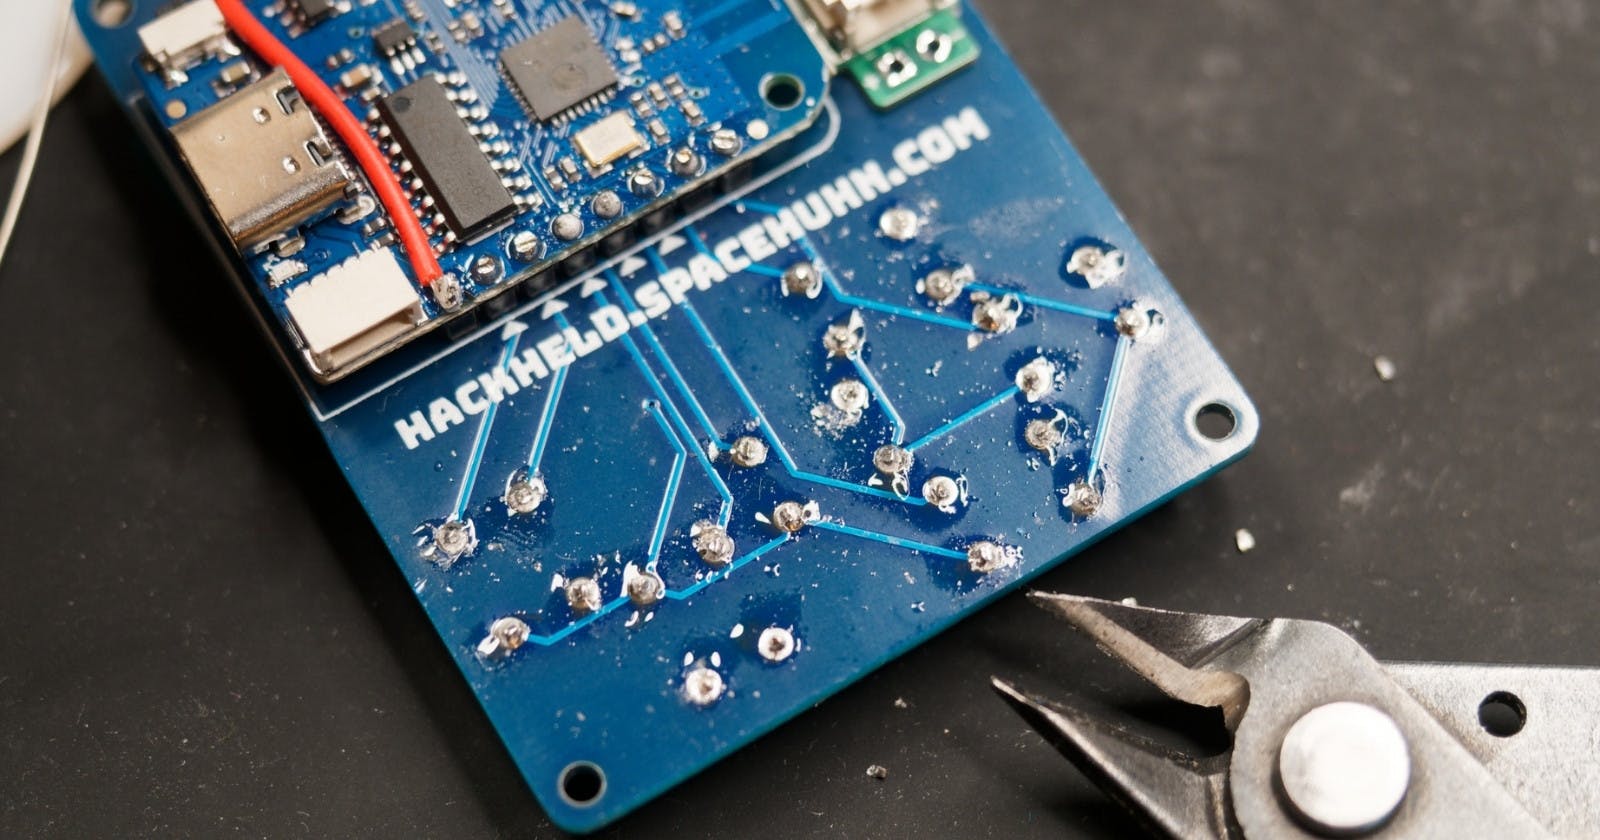
Optional, but recommended: Try to clip off as much of the button pins as possible. To prevent them from stabbing into the battery.
Cut out the battery protector from the card.
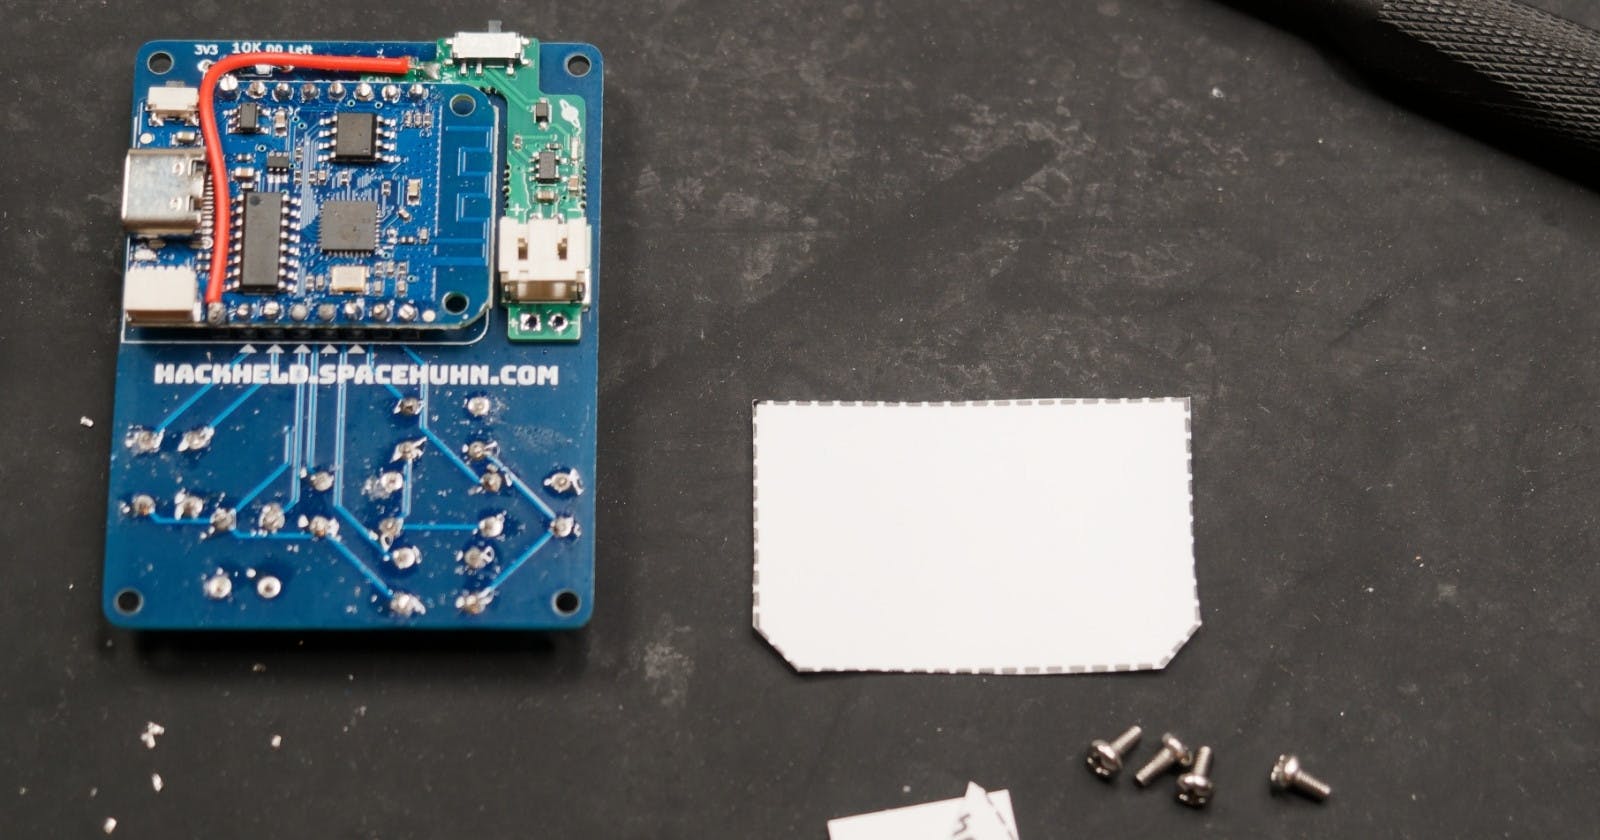
Stick one side of the double-sided tape on the HackHeld PCB, as shown in the picture.
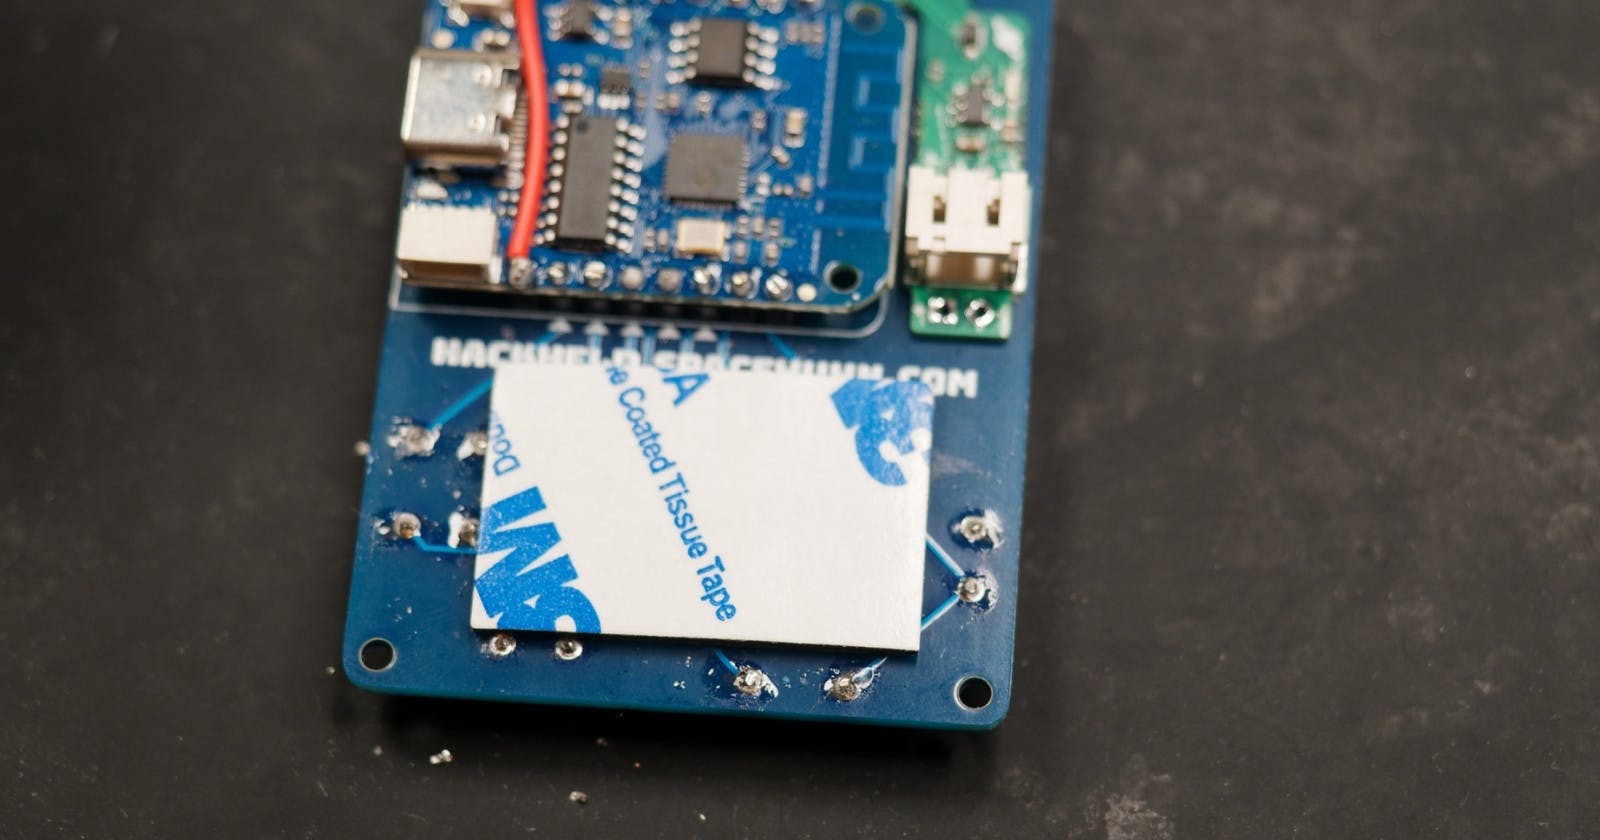
Remove the protective film from the other side of the double-sided tape and stick the battery protector on it. Make sure it's aligned with the PCB.
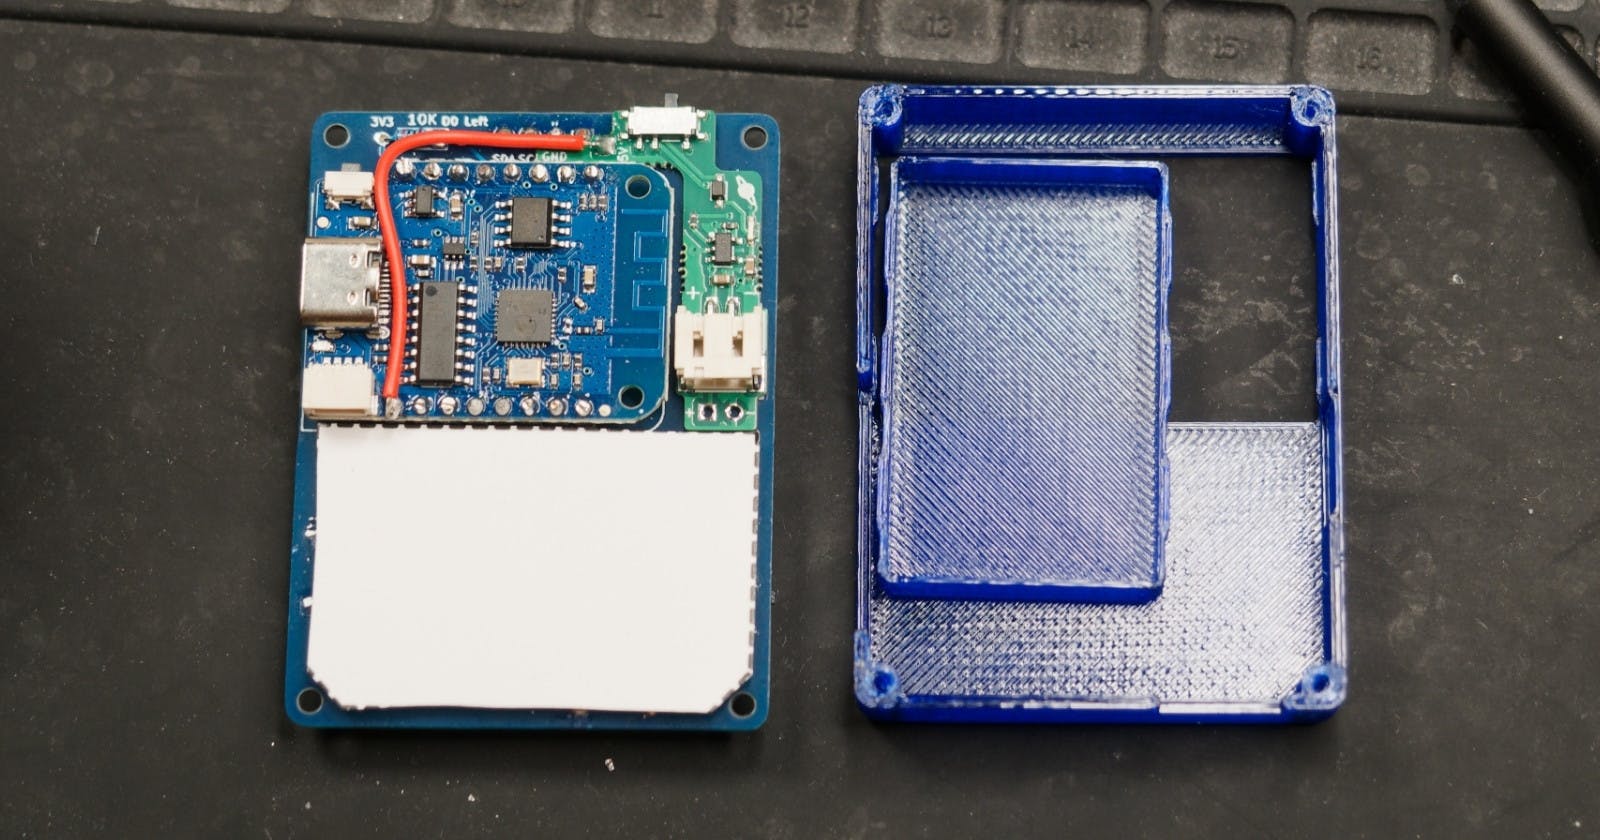
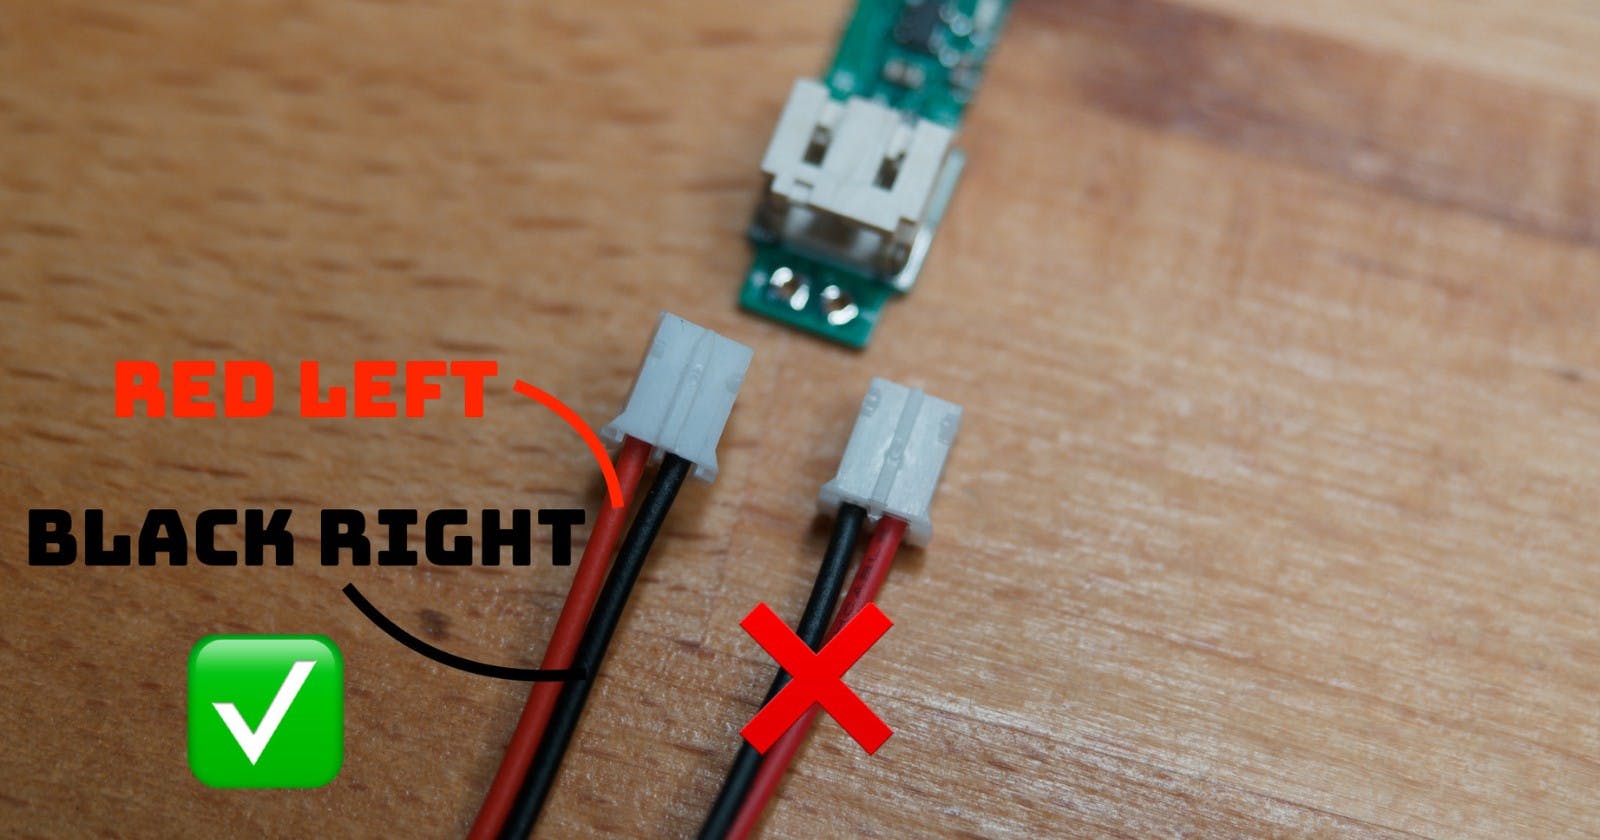
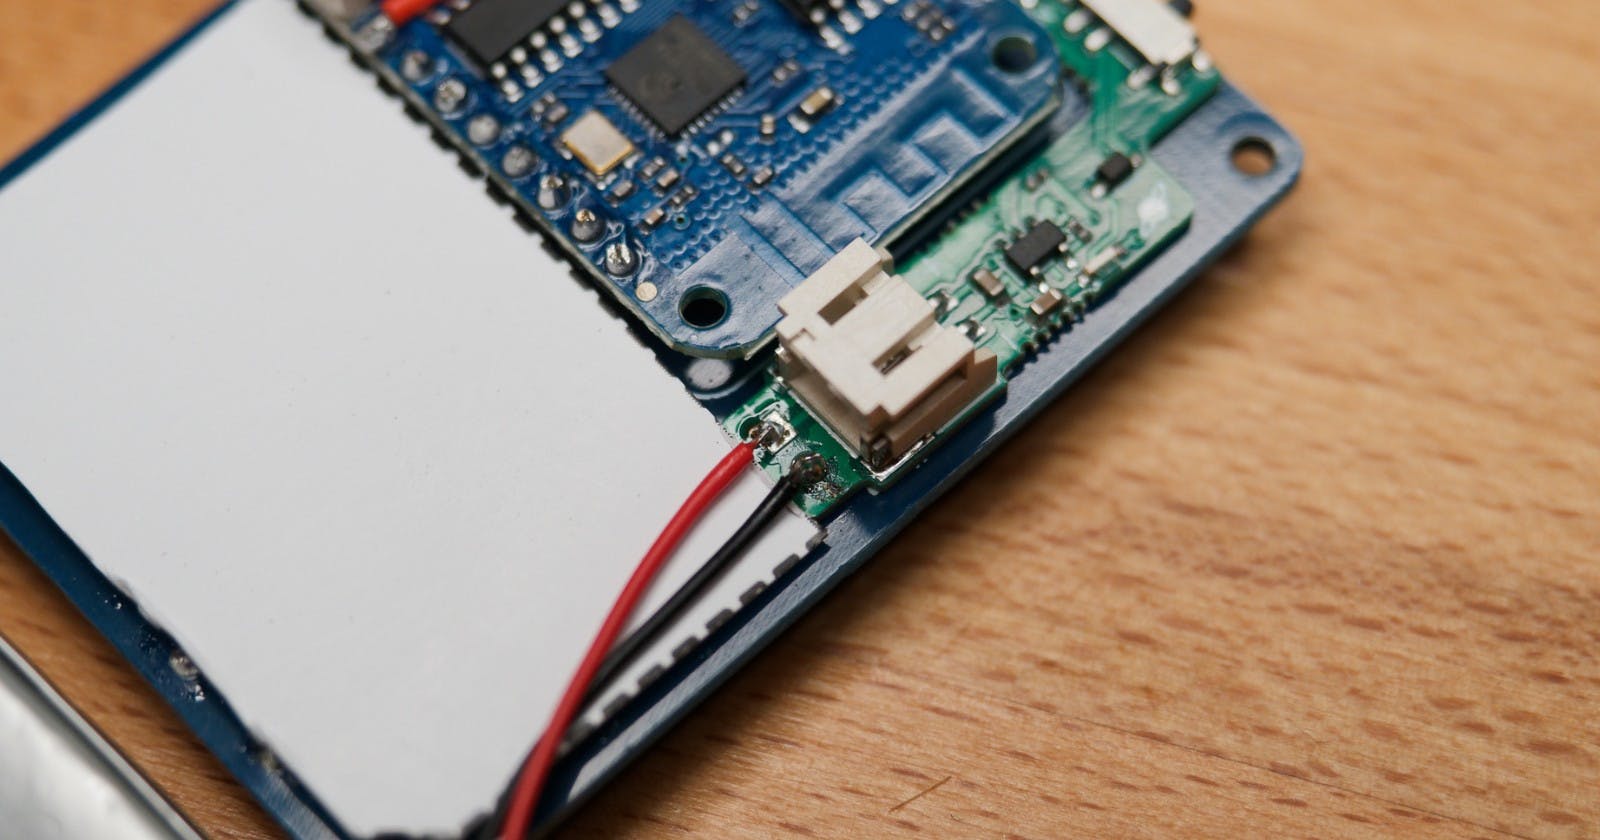
Connect the battery to the PCB. Make sure the red wire is on the left side of the battery. If the connector does not fit, you can solder the battery wires directly to the PCB. Ensure the red wire goes to + (left) and the black wire goes to - (right). I also added a bit of hot glue to secure the wires. You should be able to turn the HackHeld on and off with the power switch and charge the battery via USB. If something seems wrong, disconnect the battery and check your solder joints.
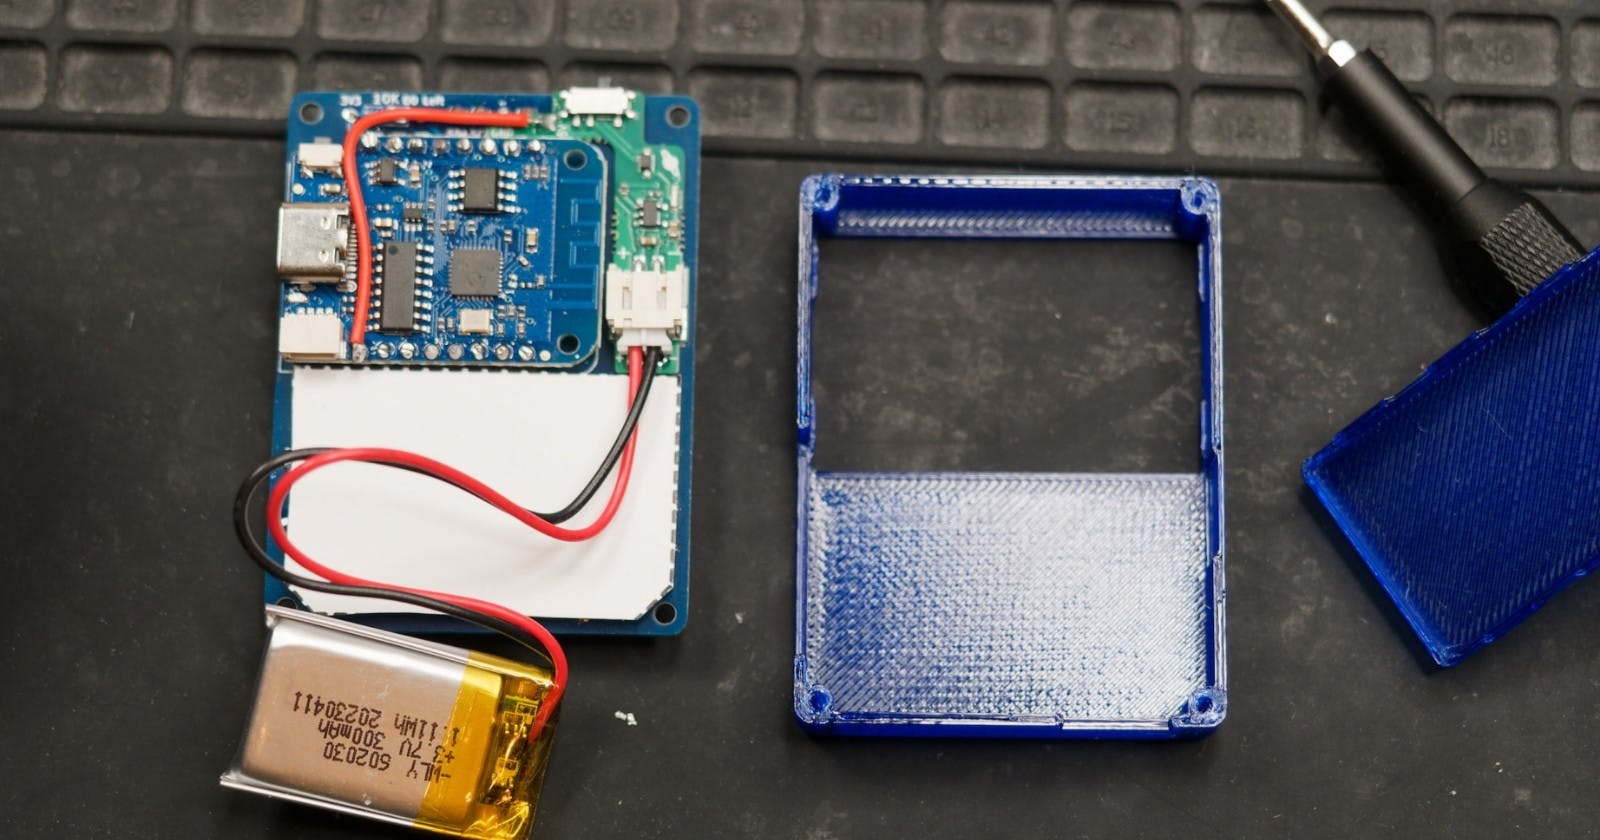
Align the new case and screw it together with the 4 screws.
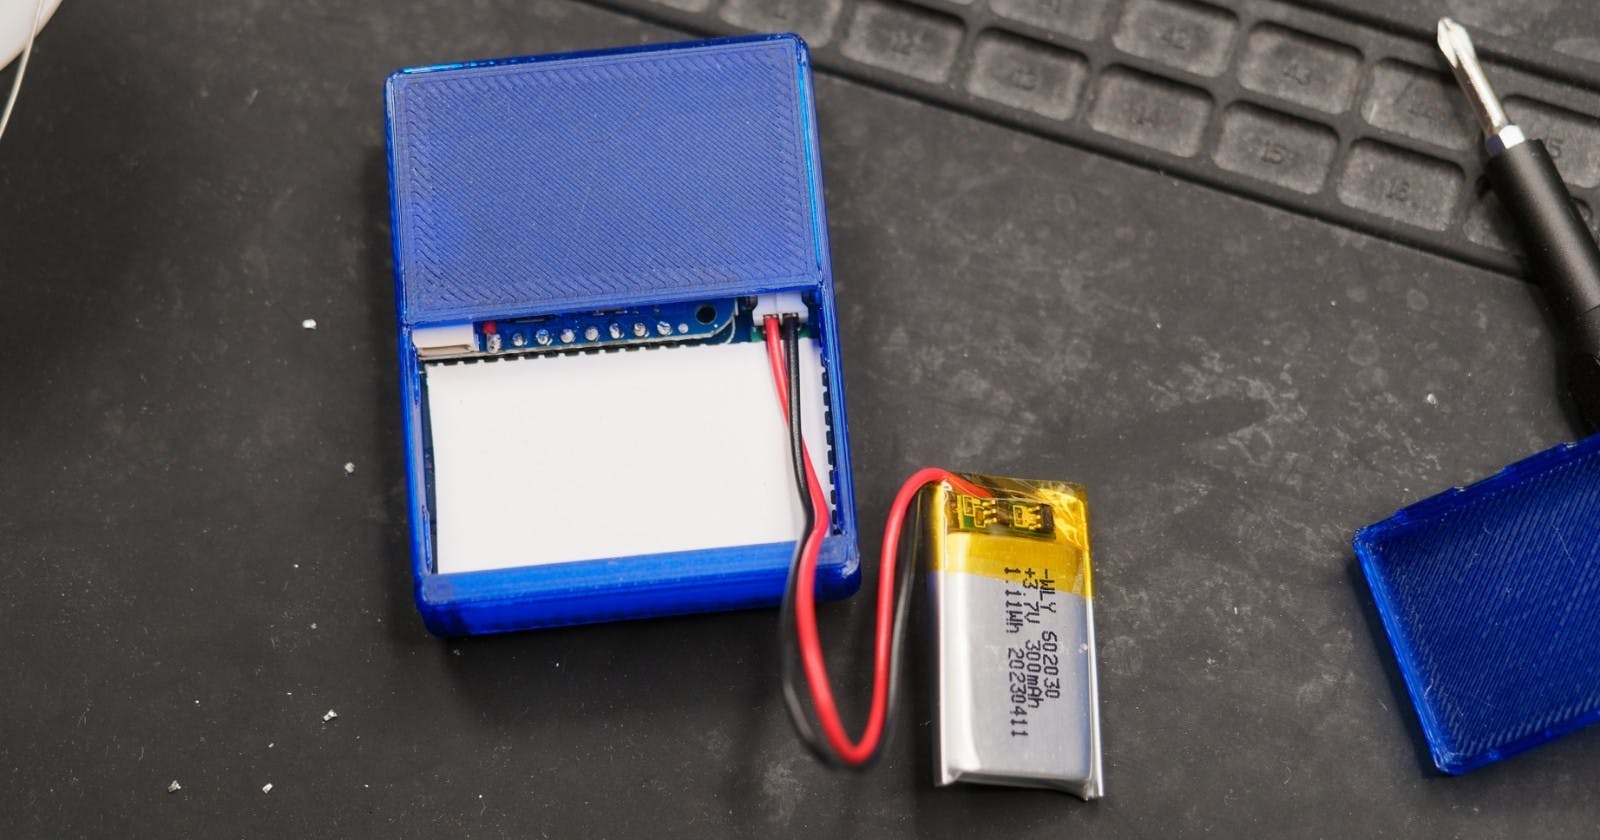
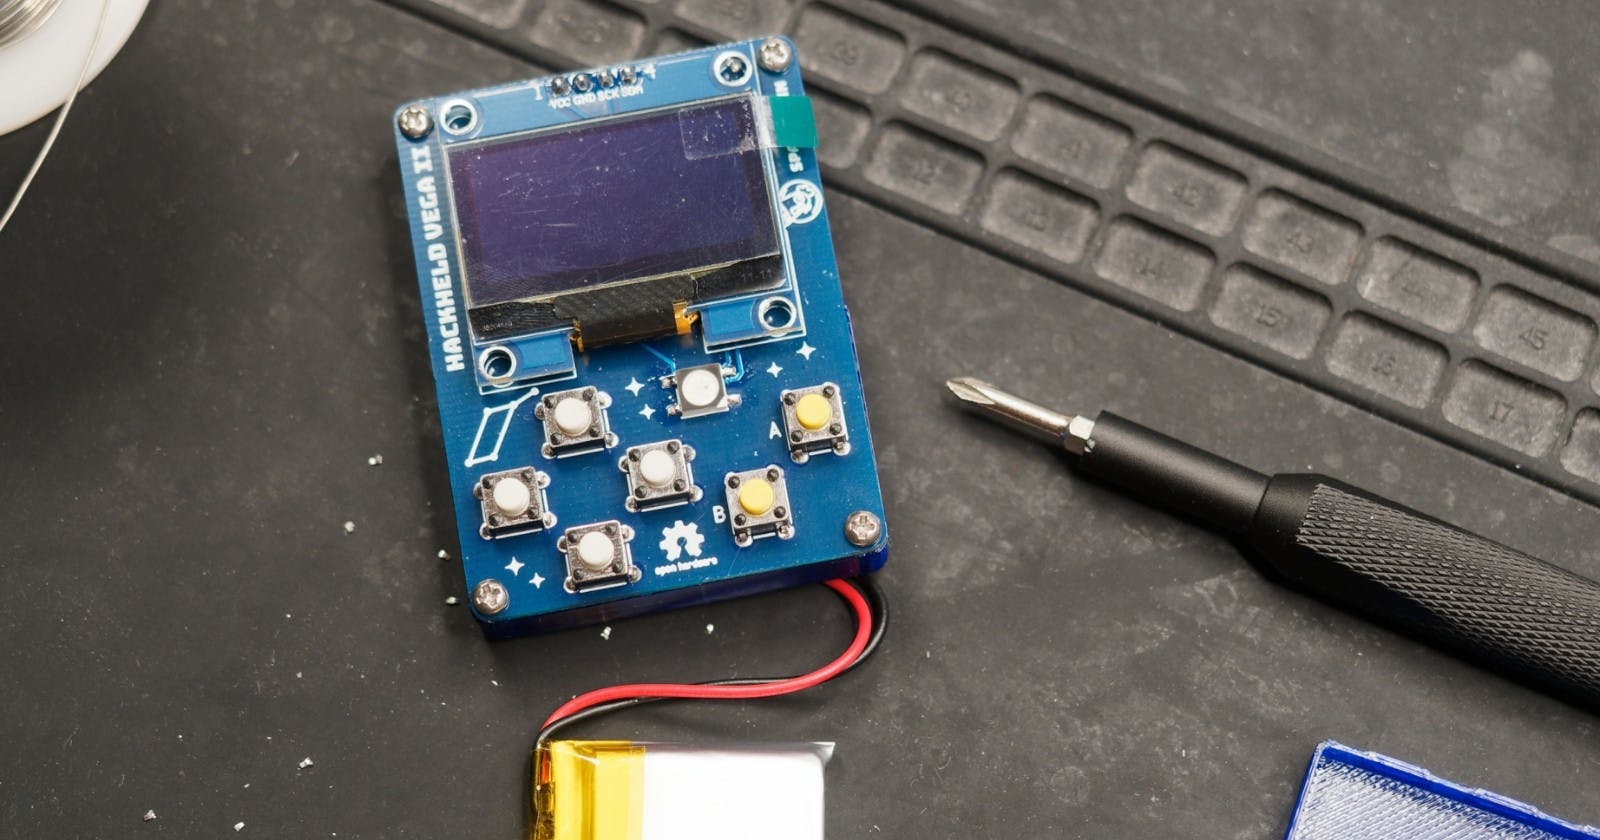
Tug the battery wires into the case and close the battery compartment.
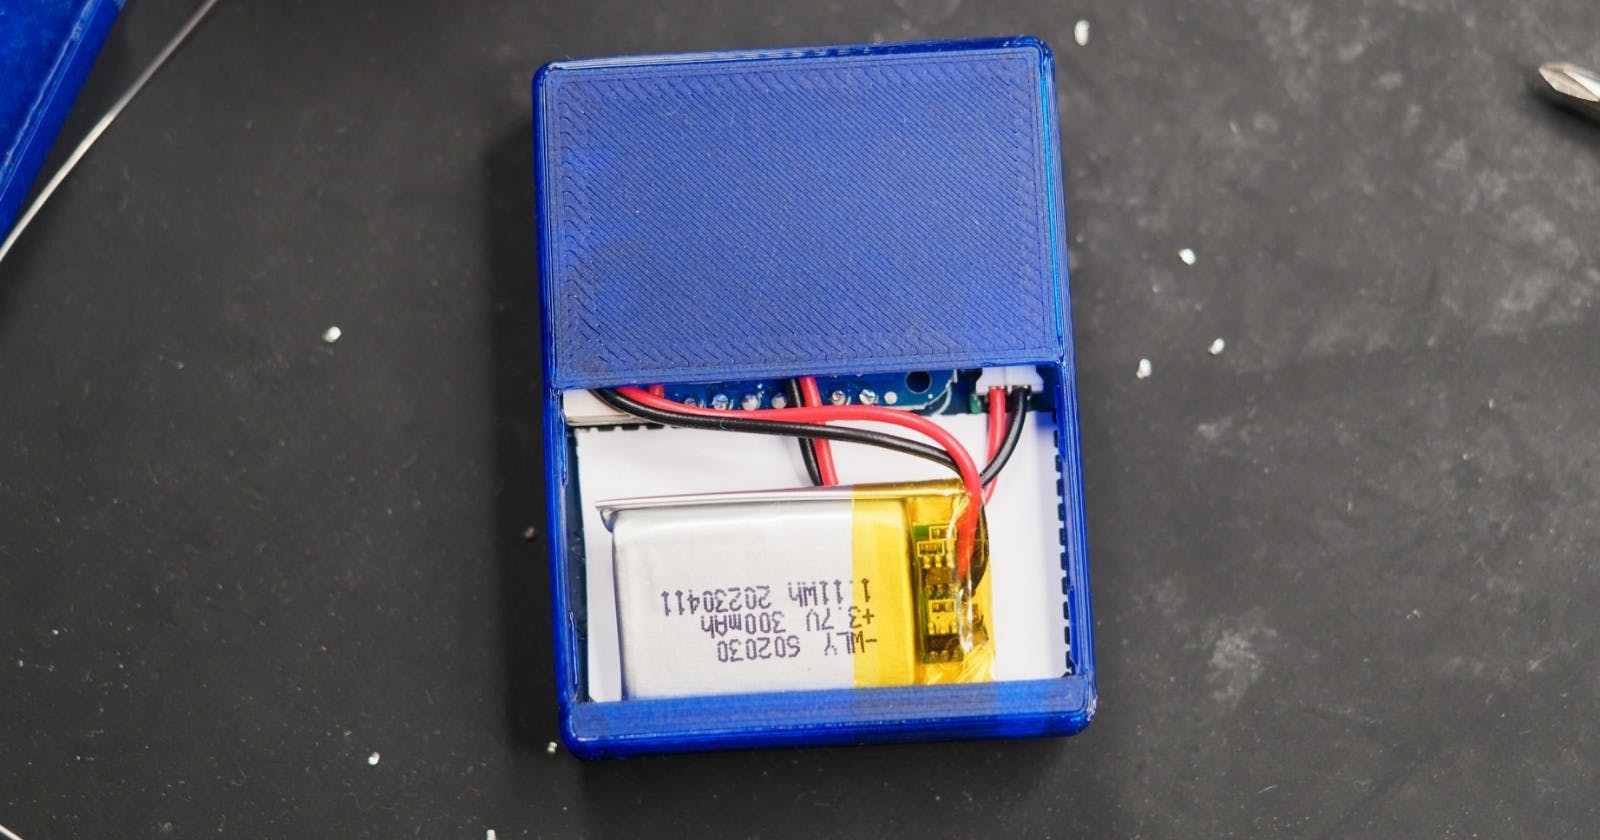
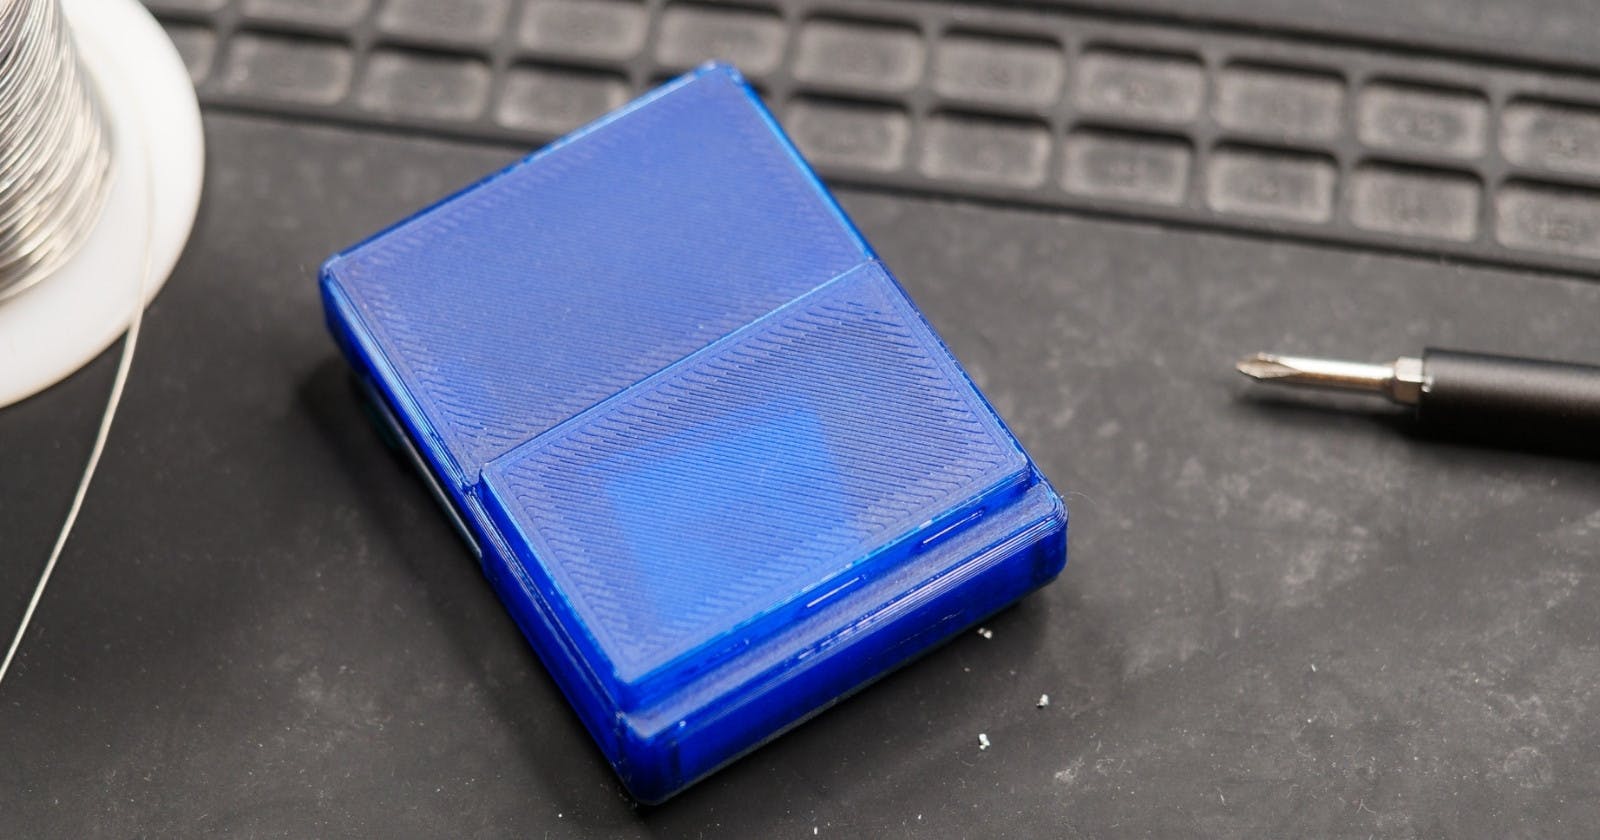
Done!
