Create the dozens of WiFi networks that aren't actually there using beacon frames!
👉 For this tutorial, you'll need to start Huhnitor and connect to your Deauther V3. Haven't installed Huhnitor yet? Then, follow this tutorial to find out how.
What are Beacon Frames?

Beacon frames are small packets sent out by the access point (i.e., your router) to advertise its network to other WiFi devices in the area. They contain information like the network name and security (Open, WPA2, WPA3,...).
Through these packets, client devices learn about available WiFi networks in the area. That is how your phone knows about the networks you see in the WiFi settings menu. This discovery process is also called passive scanning. Learn more about active and passive scanning in our post about WiFi Probe Requests.
With the beacon command of the Deauther V3, we can send out a lot of these beacon frames and advertise networks with custom names without actually having to create real networks. We can also detect devices trying to connect to our fake networks.
Can Beacons be evil?
WiFi beacon frames are primarily harmless, but some devices can react unexpectedly to certain SSIDs: iPhone Bug breaks WiFi when you join Hotspot with unusual name
It's also possible to advertise common network names and monitor the connection attempts. This way, you can potentially uncover where a device has been. We explained this in more detail in our post about WiFi Probe Requests.
How to use the command
Get an overview of the command structure and available arguments by typing:
help beacon

You can see that all arguments besides the first are in square brackets, meaning they are optional. Below the command structure, you'll find a list of all the available arguments, a short explanation, and their default value (if they're optional).
| Argument | Explanation |
-ssid -ssids | A list of network names you want to advertise. |
-from | The sender MAC address / MAC of the imaginary access point. |
-to | The receiver's MAC address. Use this to advertise only to a specified device. Leave it blank to broadcast your advertisement to all devices in range. |
-enc -encryption | Create the appearance of a open or wpa2 encrypted network. |
-ch -channel | Advertise on a specific channel. |
-r -rate | The packet rate at which the frames are sent. 10 frames/s is typical. Increase it to raise the chances of your network being picked up. |
-m -mon -monitor | Monitor your fake network for connection attempts. |
-save | Save all probe requests detected while the attack is running. |
-t -time -timeout | How long until the attack stops. |
Running the command
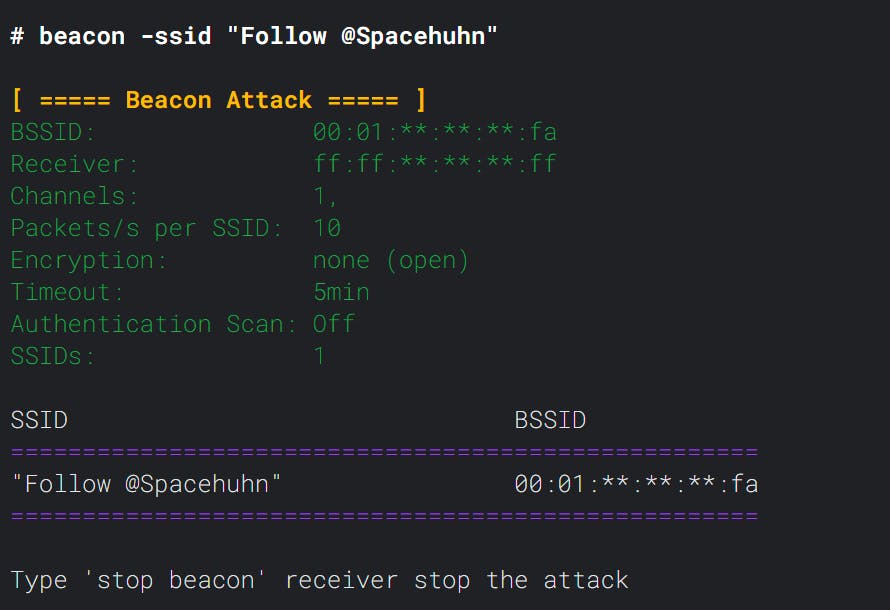
beacon -ssid "Follow @Spacehuhn"
After running the command, you'll see the parameters, a list of network names (SSIDs), and their corresponding sender MAC address (BSSID).

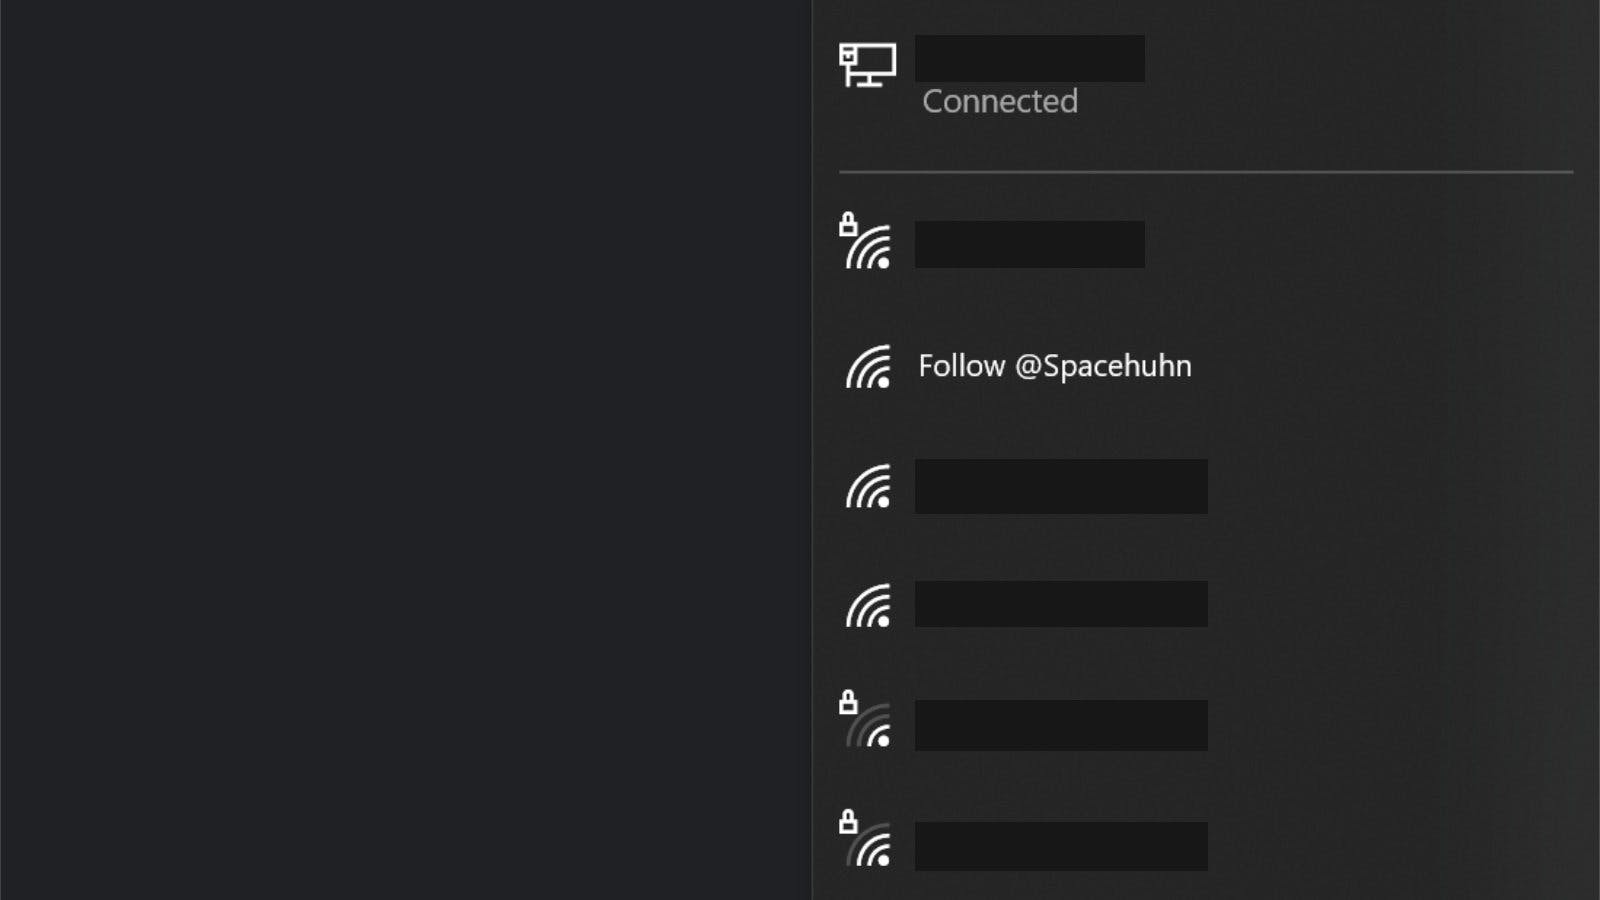
Now your network should show up as an available network.

Sometimes it can take a minute or so before devices pick up your new network, especially in areas with many access points around. You can boost the discovery process by changing to a less busy channel or by increasing the packet rate.
When you try to connect to your fake network, you'll notice that it will always fail. This is because the beacon frames are advertising a network that is not real. Therefore, there is nothing to connect to. If you want to see those connection attempts enable monitor mode:
beacon -ssid "Free WiFi" -m
You can not read the password that the user entered to join your network, but you can see the MAC address and signal strength.

